There are numerous websites available in the world for the purpose of business, services, blogs, movies, software etc. However, some websites are shown in the top place on Google search. If you are a beginner and planning to buy the domain and web hosting, then I have the solution for all of your queries regarding how to buy a domain and hosting name for your website.
Well, if you want to start as a blogger and increase your website traffic, you need to choose a strong domain extension and web hosting. Many bloggers usually make the mistake to choose the relevant domain and hosting companies. And, their website doesn’t rank on Google. If you want the website for a practice purpose, you just buy any domain extension and web hosting. Make sure don’t spend a high amount on web hosting for practice purposes.
Here are the instructions for how to buy domain and hosting name for your website.
Note: I have not used any affiliate link in this article. All the links are used for just tutorial purposes.
Choose Domain
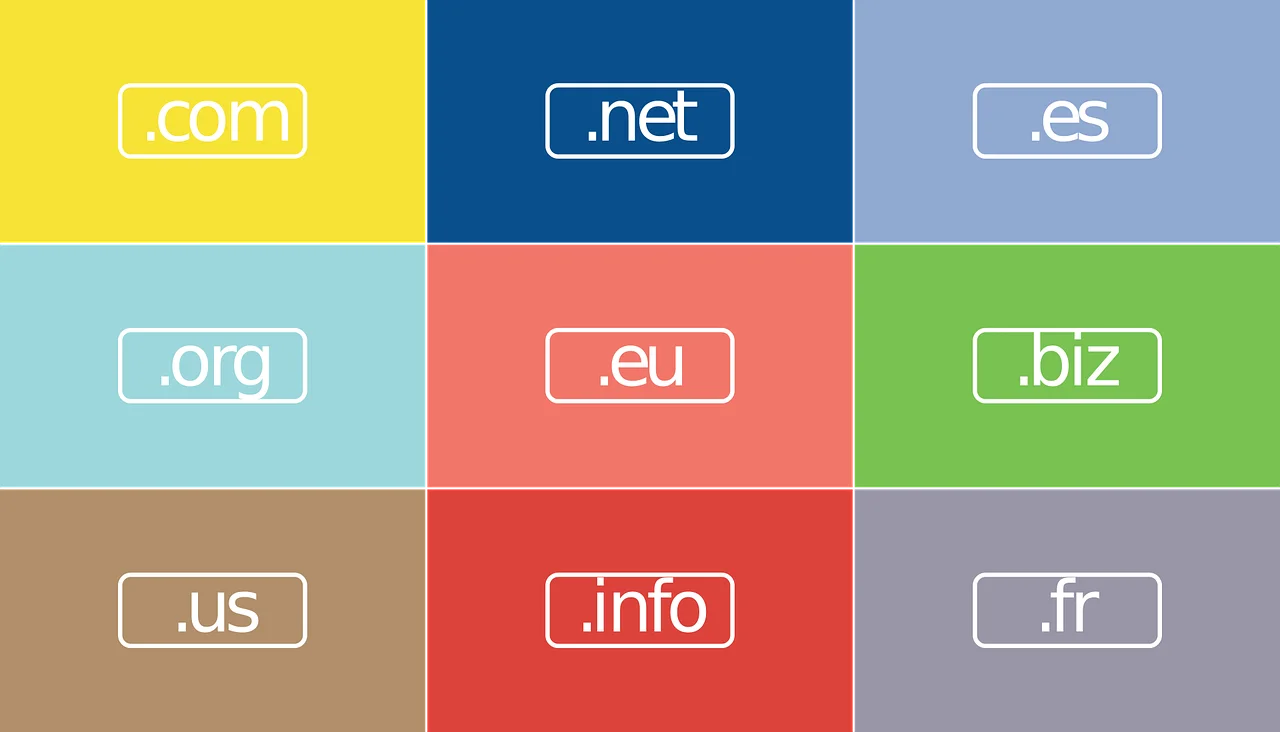
You need to choose a strong domain and extension for your business identity or blog such as .com, .in, .org etc. A domain extension has a very important role for increasing your website traffic. Users always trust on genuine domain extensions.
Before buying the domain, check the price of your domain name in different service providers. Some domain service providers give one-year free domain with web hosting.
Guidelines of Domain
- Easy to Type
- Keep it short
- Easy to pronounce
- Use keyword
- Avoid Numbers and hyphens
Web Hosting
Web hosting is the webserver to buy space and storage for your website. Users can access the website through the World Wide Web. Hosting provides a speed and many other useful features on the website.
Best Web Hosting Service Providers
- Hostinger
- Dreamhost
- Bluehost
- Hostgator
- WP Engine
- SiteGround
- Nexcess
- A2Hosting
- Inmotion
- Namecheap
Common Use of Web Hosting
- Shared Web Hosting
- VPS Hosting
- Dedicated Server Hosting
- Cloud Hosting
- WordPress Hosting
Steps For Buy Domain and Hosting
I’ve used one web hosting company randomly for tutorial purposes. You can buy any above web hosting provider as per your requirements.
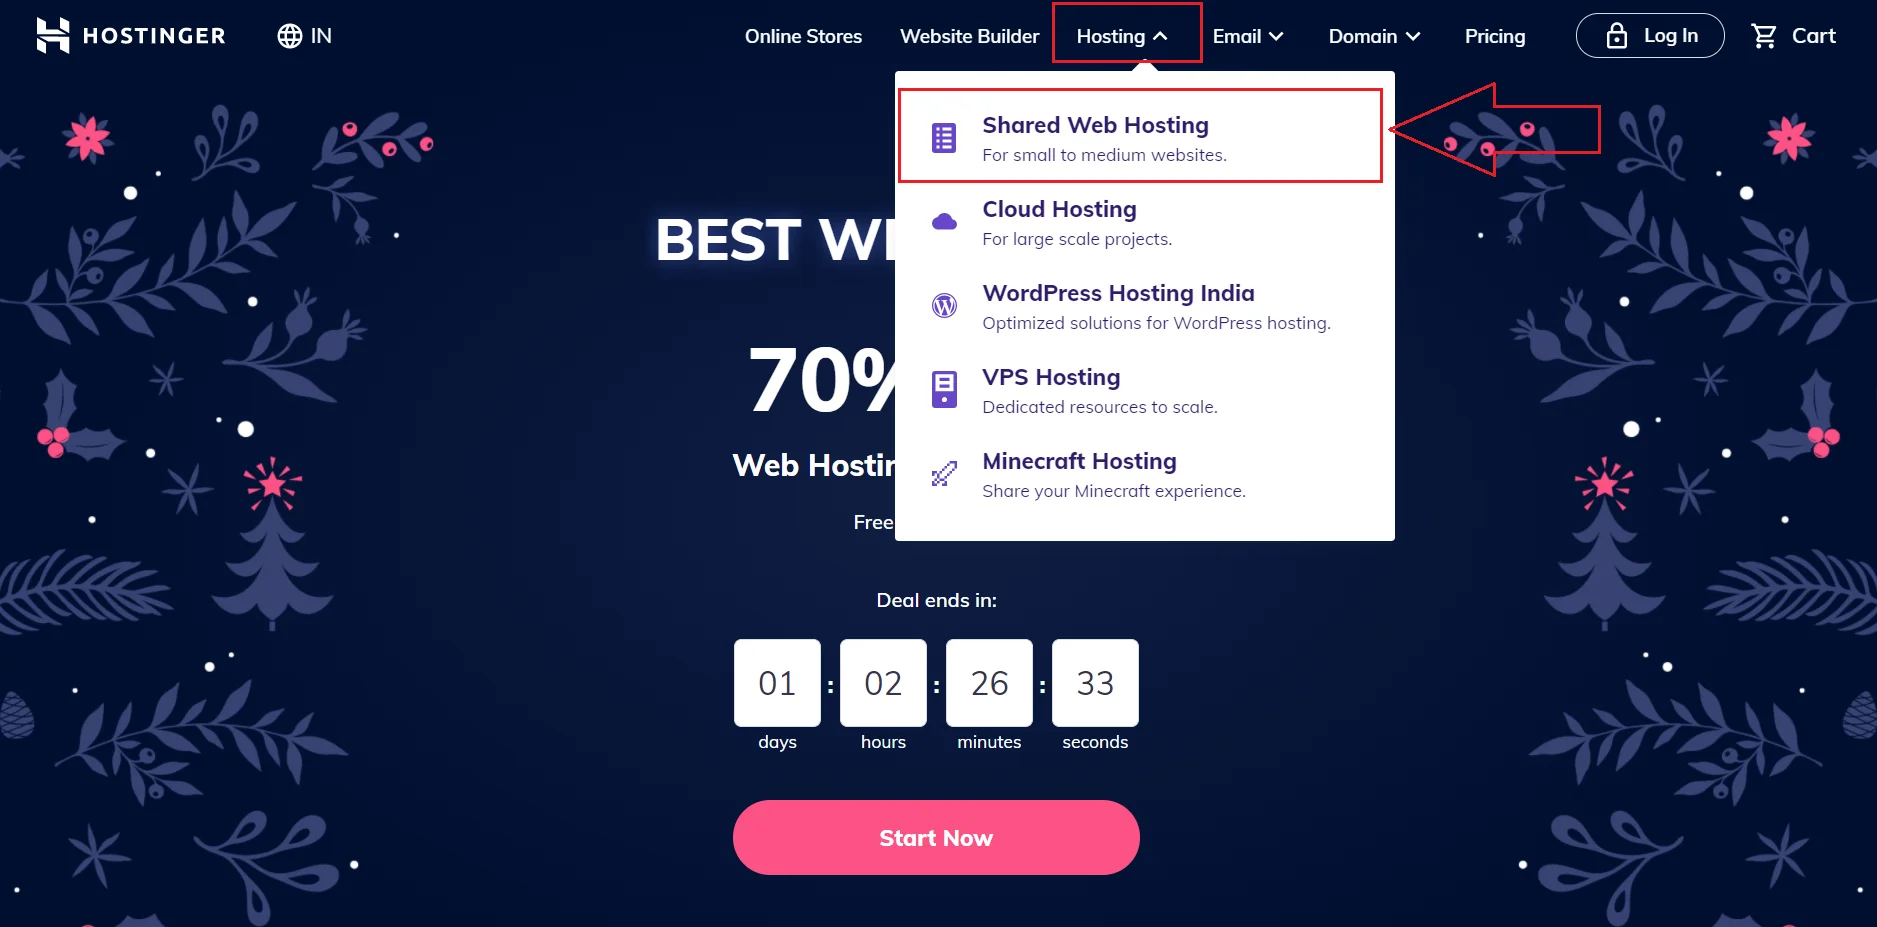
1. Buy Domain and Hosting
To Buy, Open the Hostinger Page and select your Web Hosting Type. For example, choose Shared Web Hosting
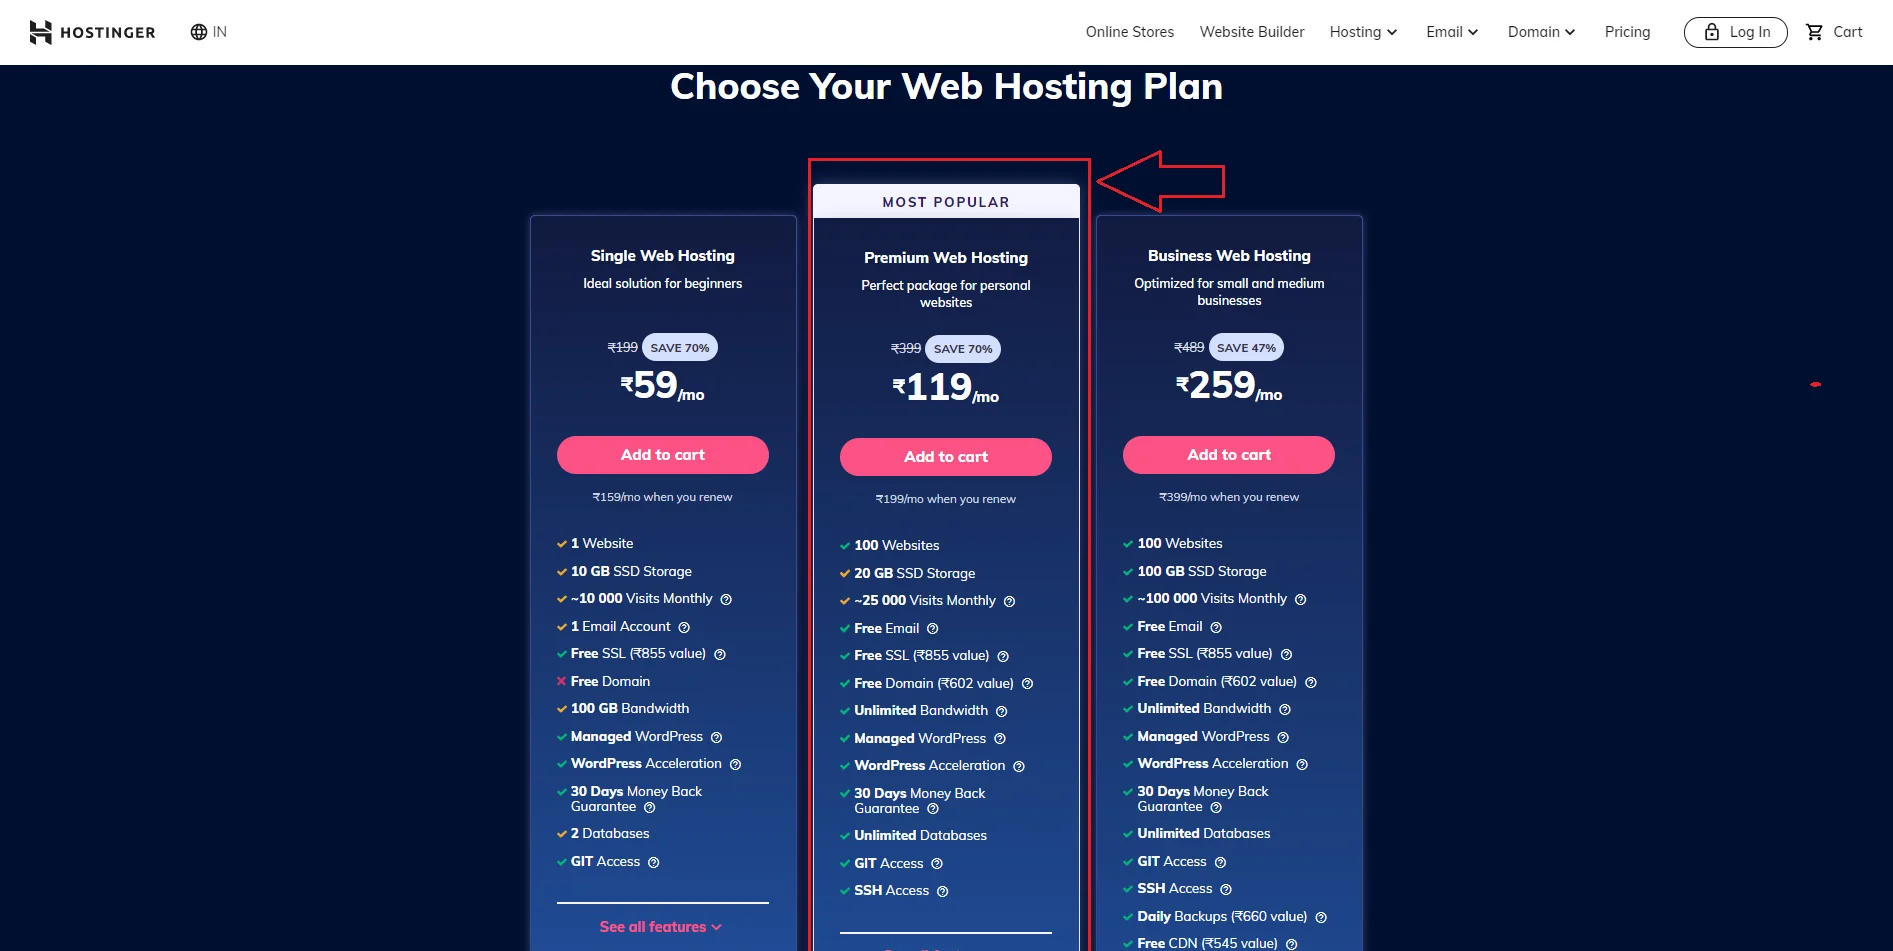
2. Select The Plan
If you are planning to buy hosting for a long time. I recommend you need to choose the Popular or Premium Plan for your business or blog. If you buy any plan for 1 year, it will be expensive for you. So you have to buy at least for 3-4 years.
3. Select Year
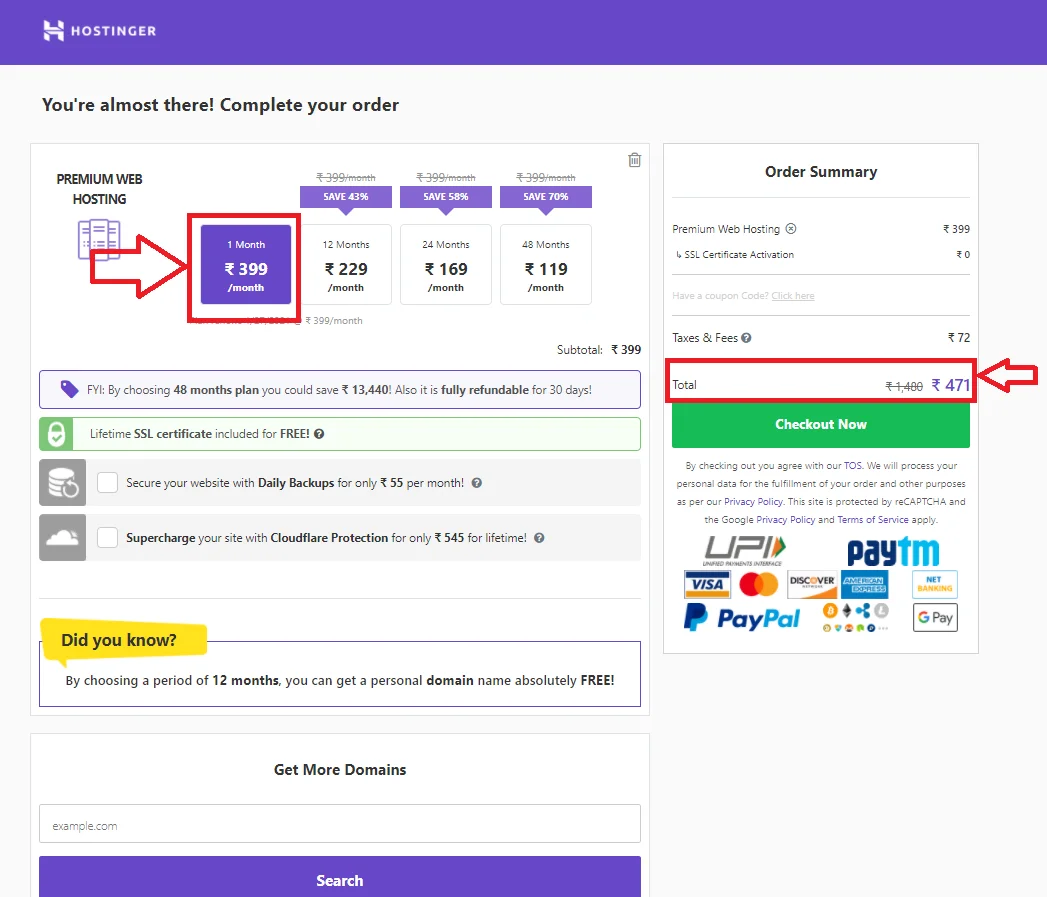
One Month Plan
If you want to pay monthly, then it will start from Rs 399 plus taxes.
Monthly Pay Calculation with taxes
| Months | Price (Including Taxes) |
|---|---|
| 1 | 471 |
| 12 | 5650 |
| 24 | 11,300 |
| 36 | 16,950 |
| 48 | 19,152 |
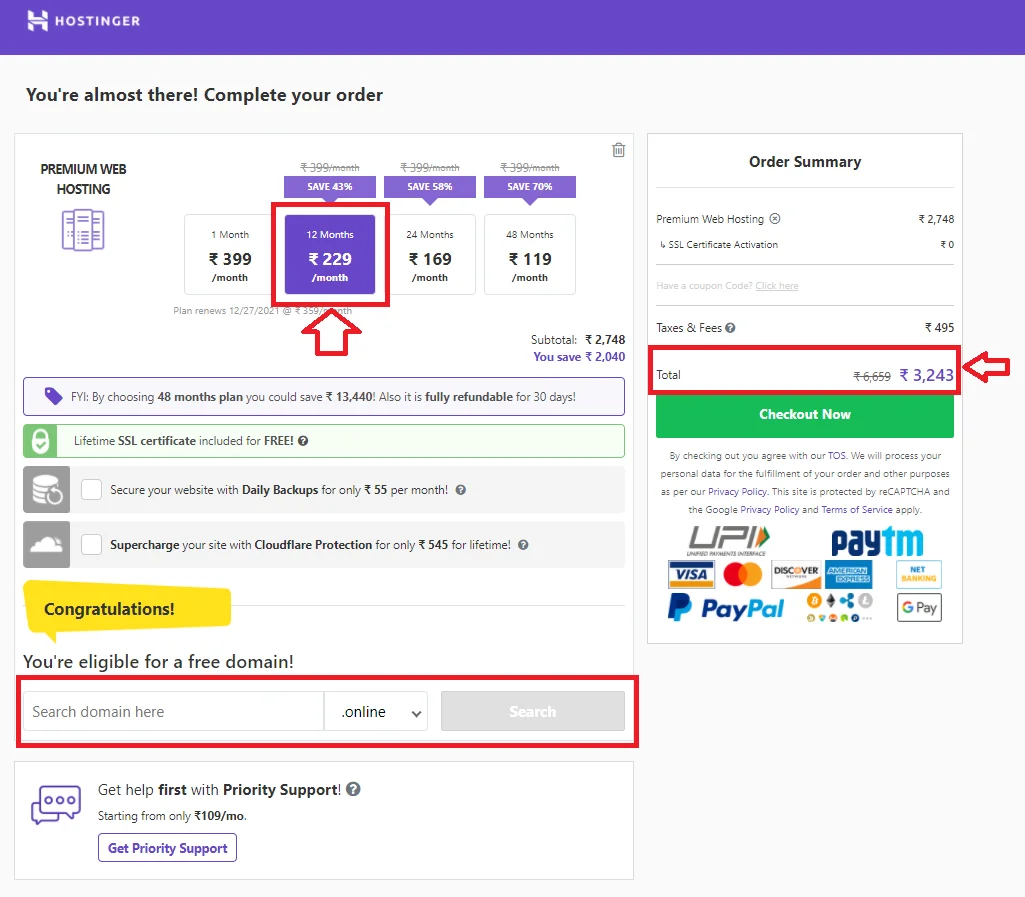
One Year Plan
If you want to pay annually, then it will start from Rs 229 plus taxes.
Monthly Pay Calculation with taxes
| Months | Price (Including Taxes) |
|---|---|
| 12 | 3,243 |
| 24 | 11,300 |
| 36 | 16,950 |
| 48 | 19,152 |
Note: If you choose the starting plan from 1 year, You will eligible to get free domain for one-year.
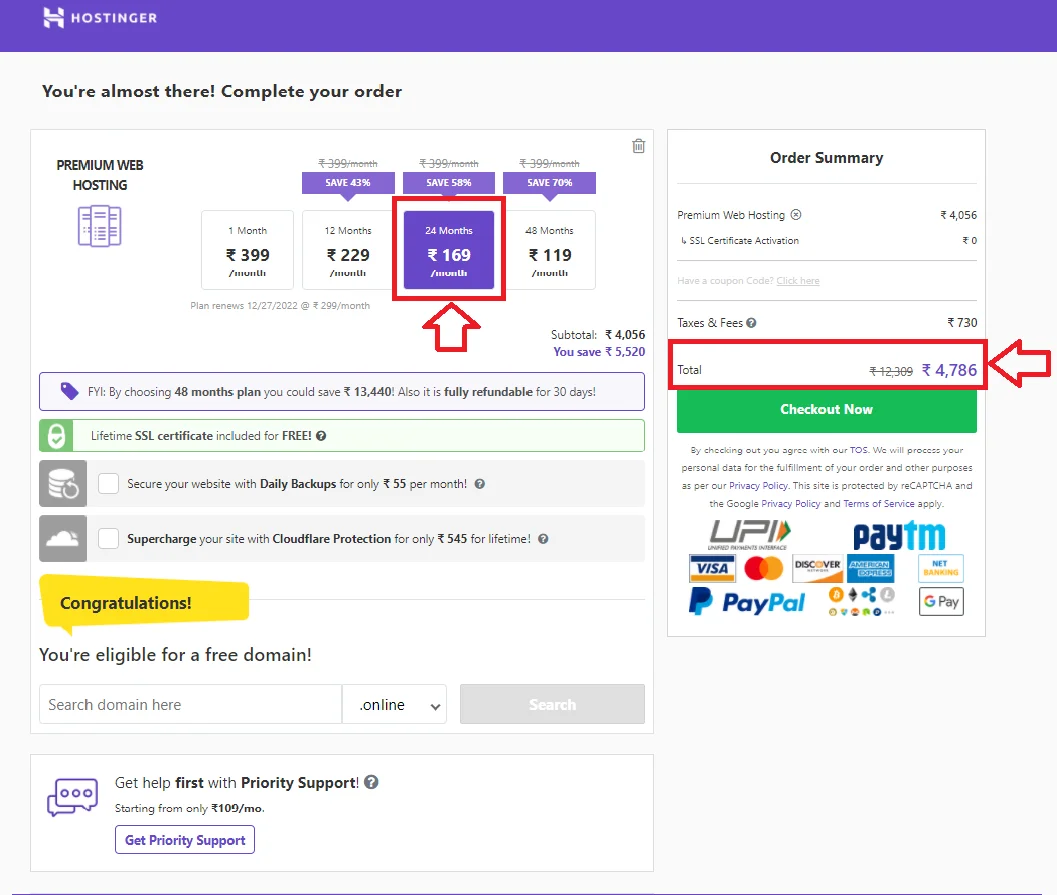
2 Year Plan
If you want to pay for 2 years, then it will start from Rs 169 plus taxes.
Monthly Pay Calculation with taxes
| Months | Price (Including Taxes) |
|---|---|
| 24 | 4,786 |
| 48 | 9572 |
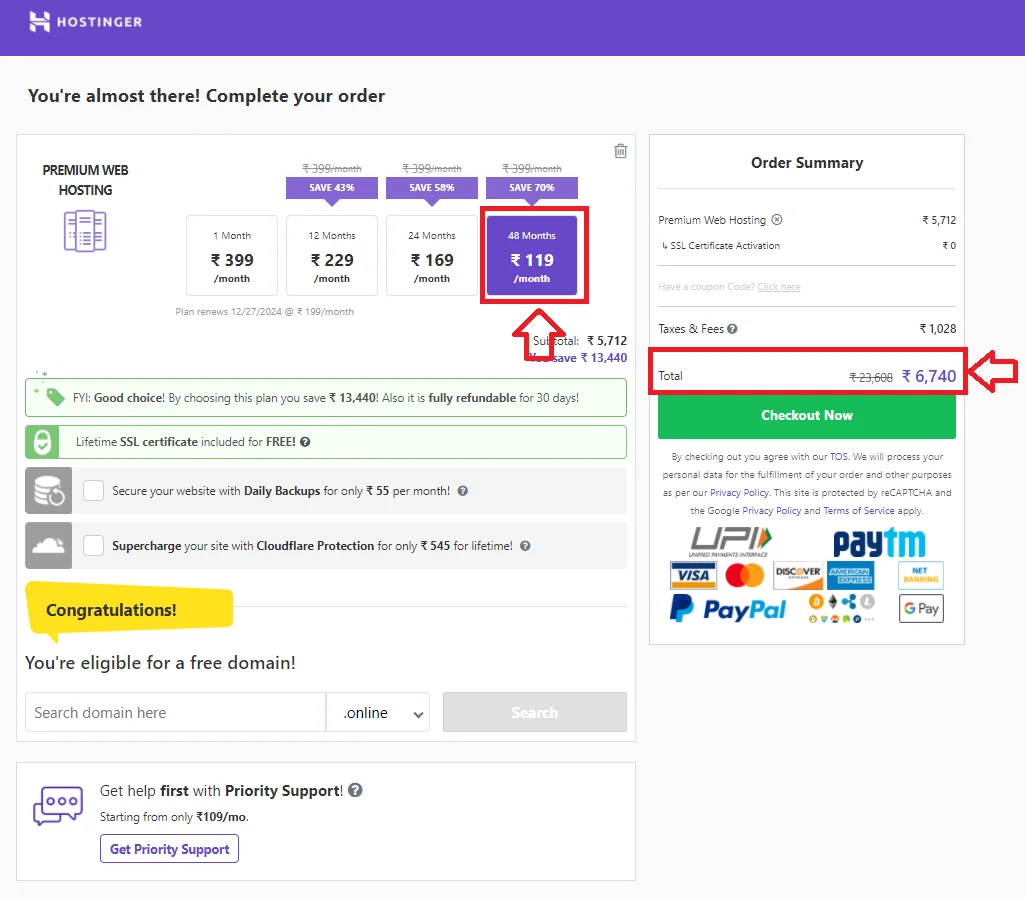
4 Year Plan
If you want to pay for 4 years together, then it will start from Rs 119 plus taxes.
Monthly Pay Calculation with taxes
| Months | Price (Including Taxes) |
|---|---|
| 48 | 6740 |
As you can see above all the plans with the calculation. If you choose the plan at least for 4 years, you will get at the cheapest price than other plans. The final call is yours to decide which plan you want to buy.
Signup Account For Payment
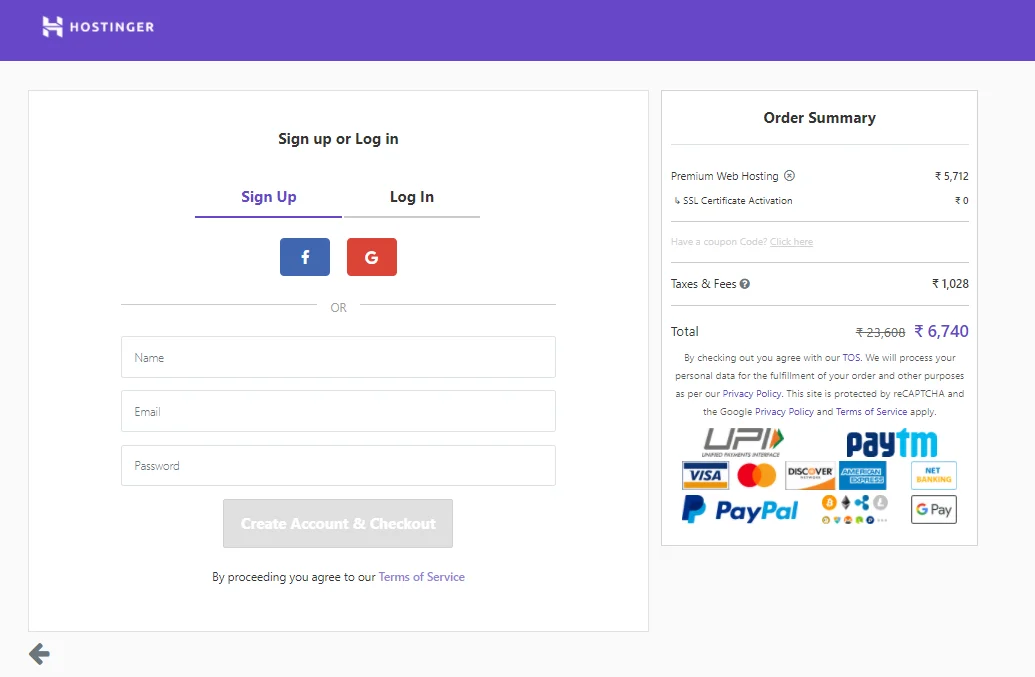
You need to signup for payment with Google or Facebook account. So that you can access the panel of your hosting in the future.
Payment Mode
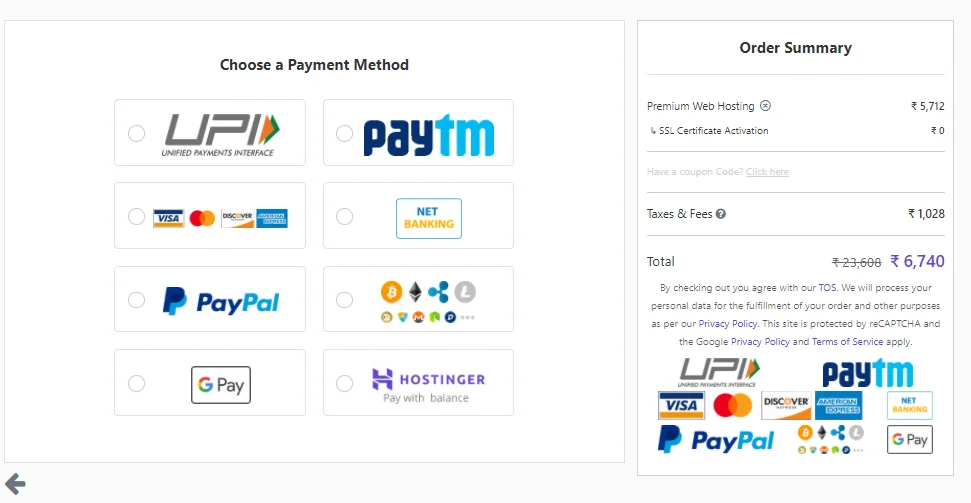
When you login your account, select the payment mode to buy the hosting.
Fill The Details
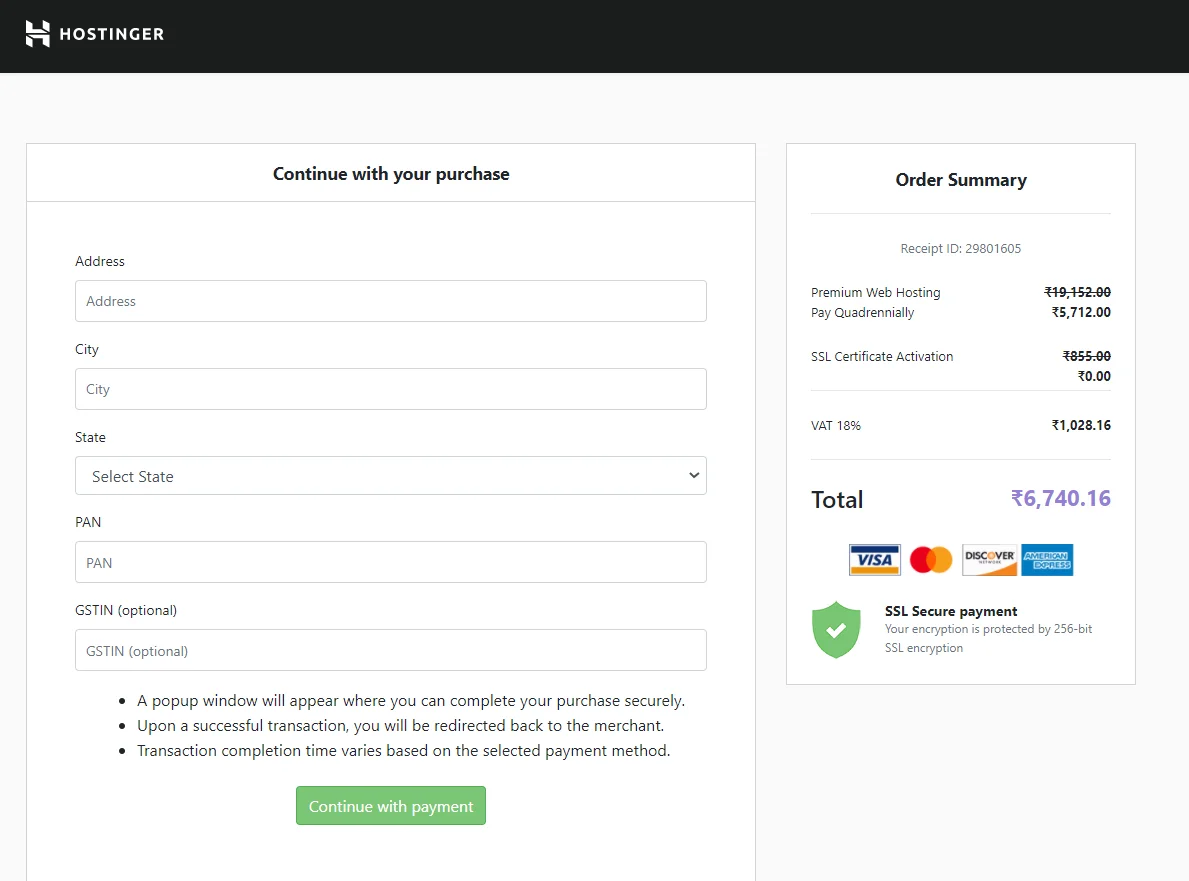
You need to fill in your details in this section correctly. Then click on “Continue with Payment” and pay the amount from your account.
Login the Cpanel/ Hpanel
After purchasing the hosting, you have to login to the Cpanel or Hpanel account. Well, some hosting providers provide Cpanel but Hostinger provides Hpanel to the users.
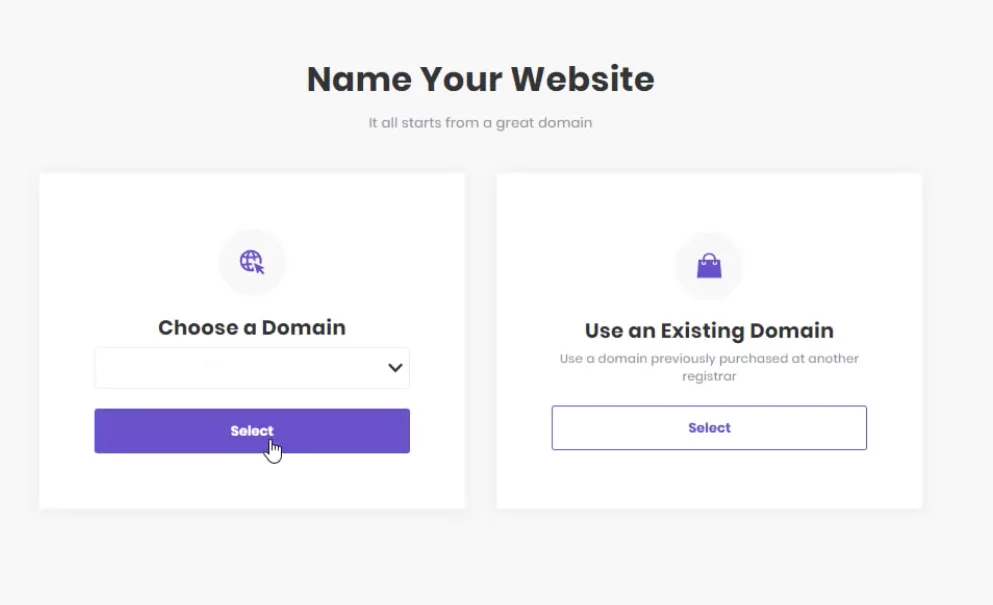
You will find this page, you need to add your domain with the web hosting.
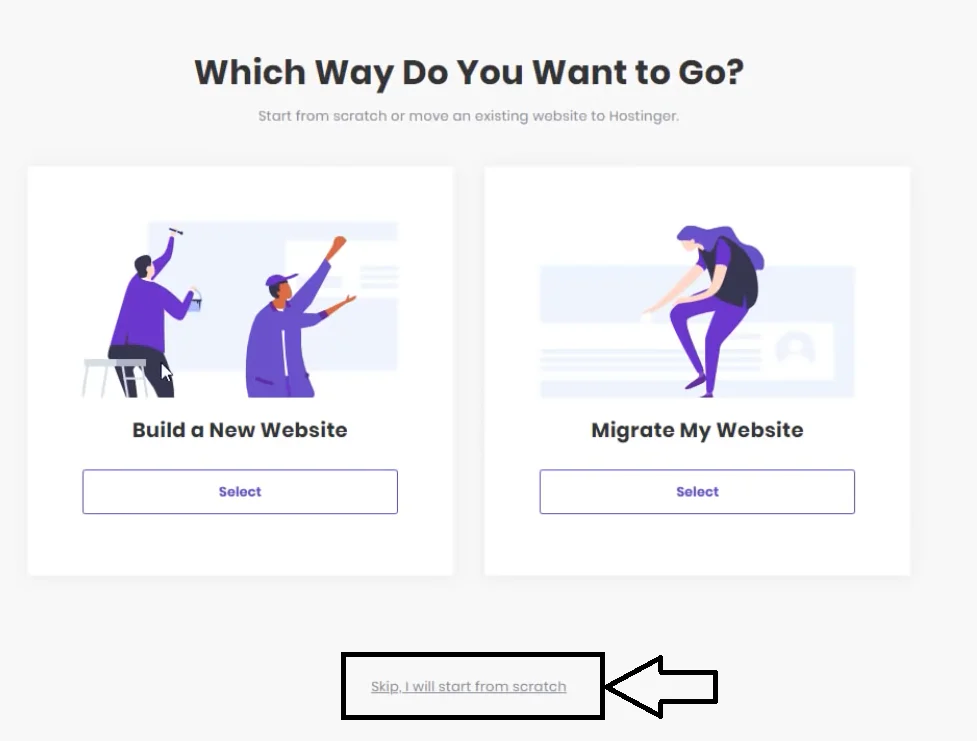
If you want to create the website through WordPress. Then, Click on “Skip I will Start from Scratch“. If not, then you can choose as per your requirement.
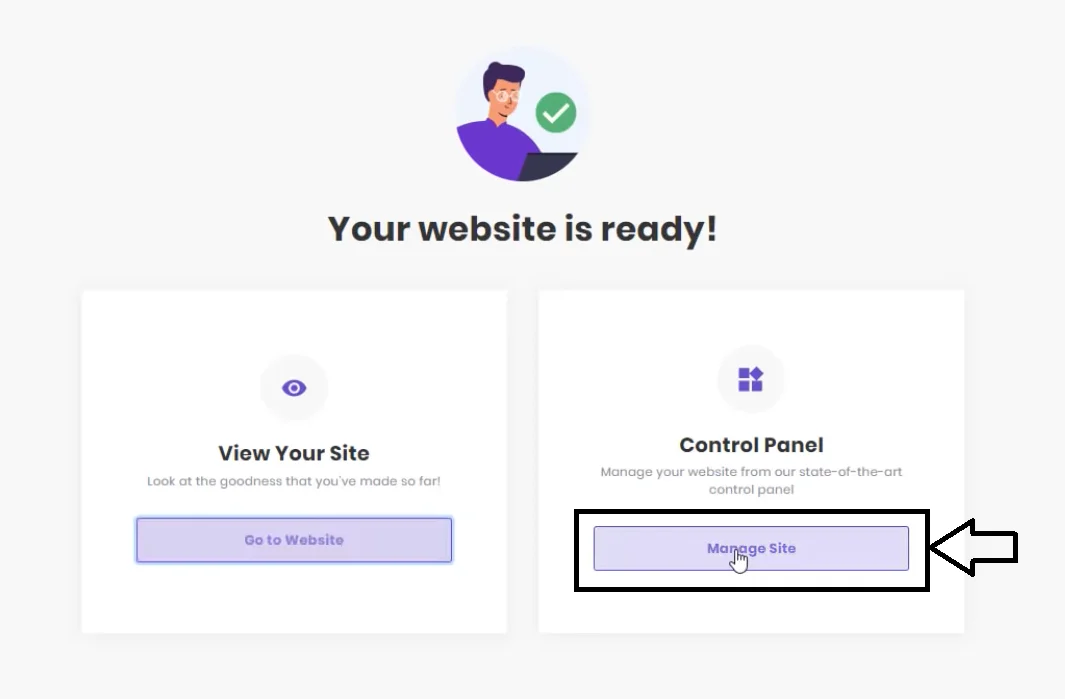
Now your website is ready, Select the “Manage Site”.
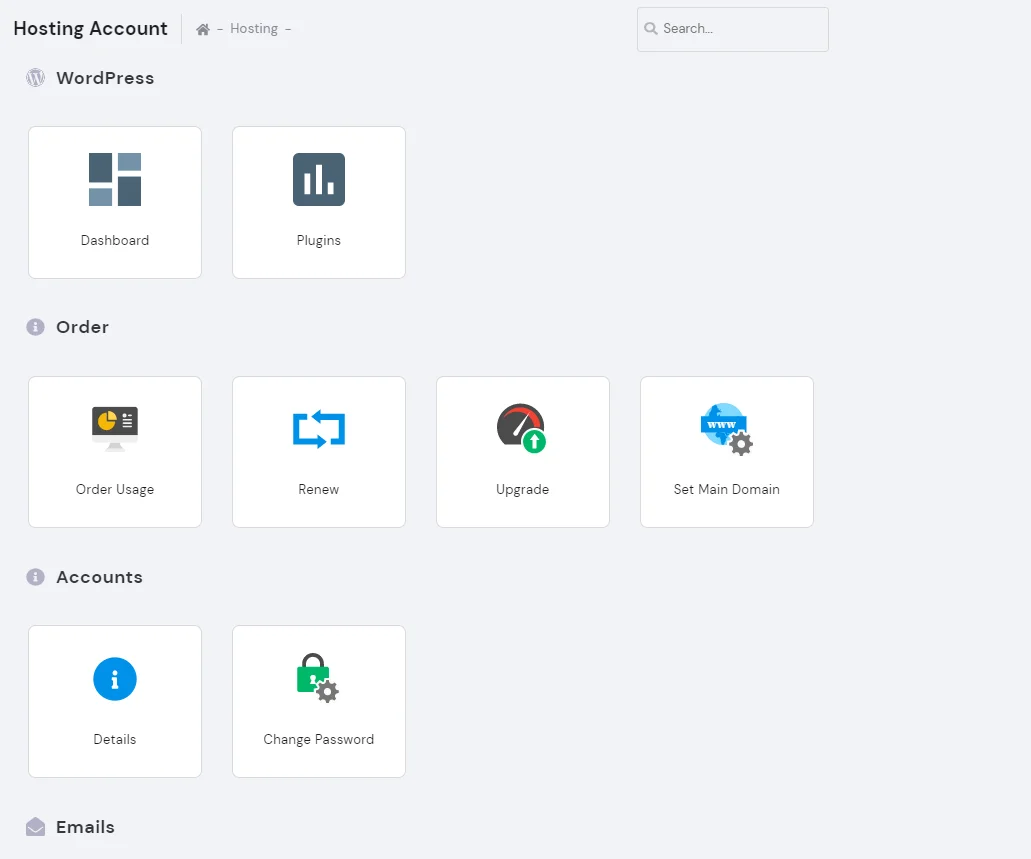
Finally, you enter the web hosting dashboard. Now, you can install and setup the WordPress on your dashboard to work on it.
Hope this article will help you. If you have any questions, please feel free to ask in the comment section.
Read more about Digital Marketing topics on: Digital Marketing and InfoTalkies